Concept
Re-Collections was originally conceived as a way to capture the first
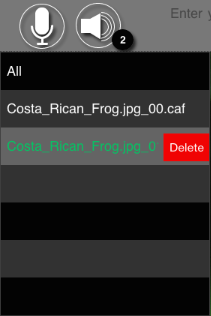
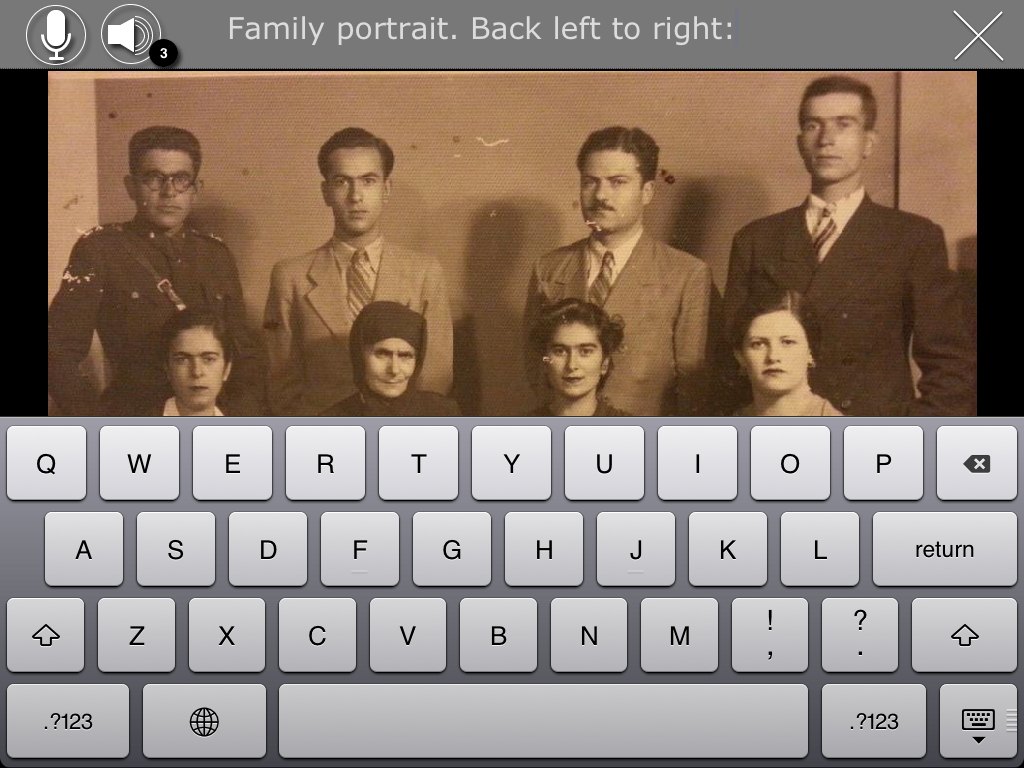
reactions and emotion conveyed when someone first sees a photo. To make that happen, press the microphone
button once to start recording, then simply swipe to the next photo - the audio continues to record. When
you have finished viewing your photos, simply press the microphone button once more and your recording stops. There's no need
to continually hit the record button to start and stop recording for
each photo - the continuous audio recording feature cuts and tags the
audio for you, saving each photo's audio clip individually, but playable as a
continuous recording in your slideshow.
Of course you can also use the Re-Collections app to add audio and text
notes to any images - so make a presentation for the office, for your team or group,
or anything else.
Background Story
After discovering a satchel of old photos at my father's house, I borrowed
them and scanned them in to my computer. A couple of years later my Dad came for a visit, so I asked him
if he'd go through the photos with me and tell me something about each one.
As we were doing this, I realised the need for an easy-to-use app that
would allow making text notes, so that afternoon I hastily created a prototype on my
trusty Mac. The next day, as we continued browsing through the photos, I jotted
down some of the details that Dad described. But there was something missing.
As I was scribbling away, I realised that the words I wrote only told a
fraction of the story. The REAL story was in my Dad's voice, his emotion,
his laughter, and the journeys that came flooding back as he described these
wonderful snapshots of his parents, his grandparents, his childhood memories of
Scotland and beyond.
I realised that I wanted to be able to capture these first moments of
seeing a photo - when the emotion is right there with you. Thus I came up with the
idea of continuous recording - no action was required to start recording for each photo, so there would
be no interruption of the viewer's connection to the photo.
It's that simple.
Unfortunately my Dad is no longer here and I can't use this with him to record his great stories.
Just make sure you don't lose the chance to record your family's stories.
I hope Re-Collections can help you with that.

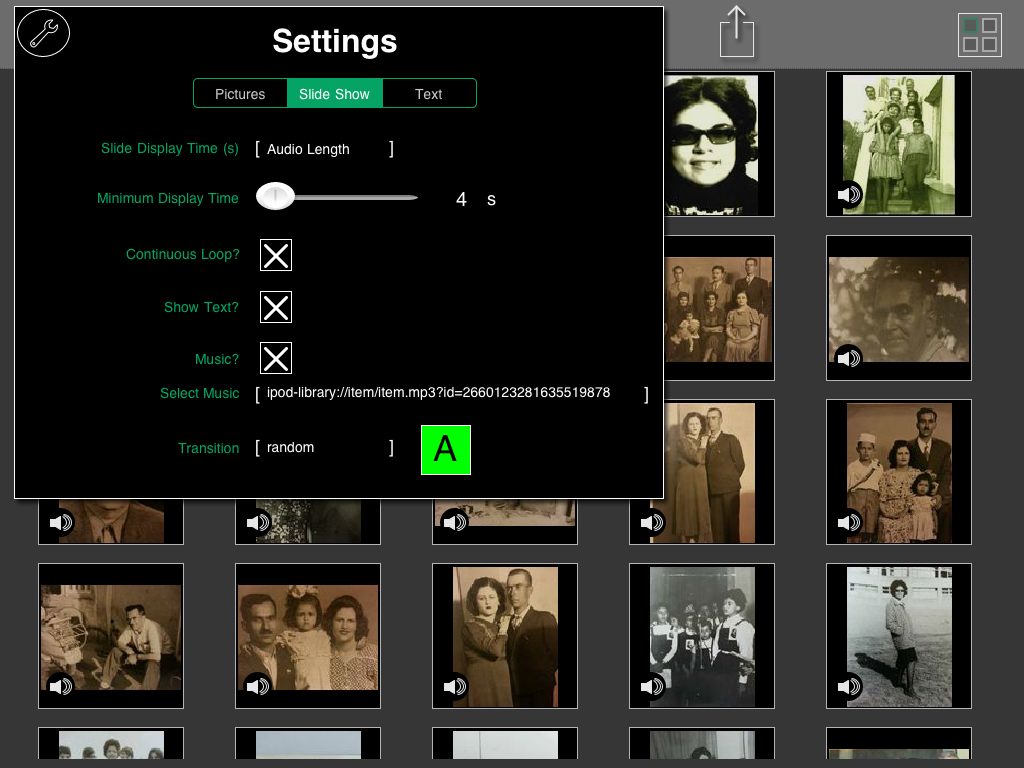

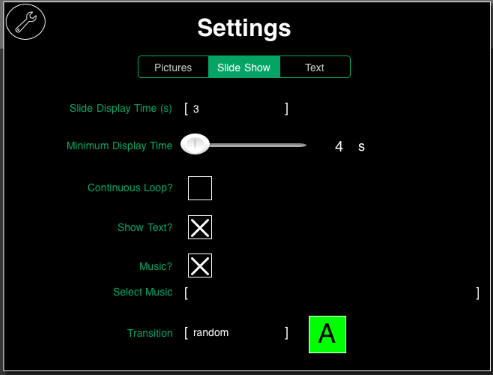
 Set preferences for text appearance, slideshow playback, continuous recording, and so on.
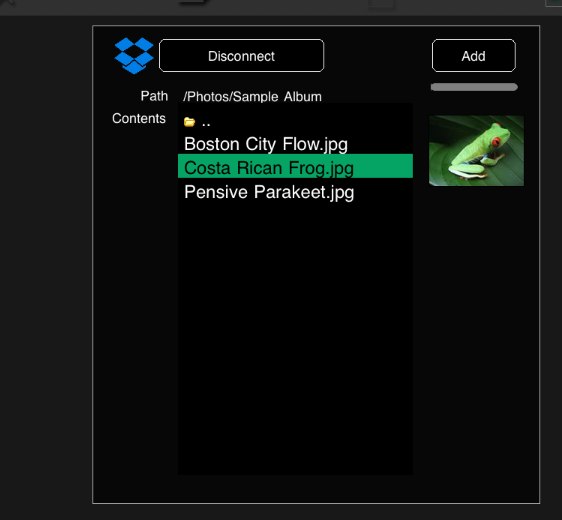
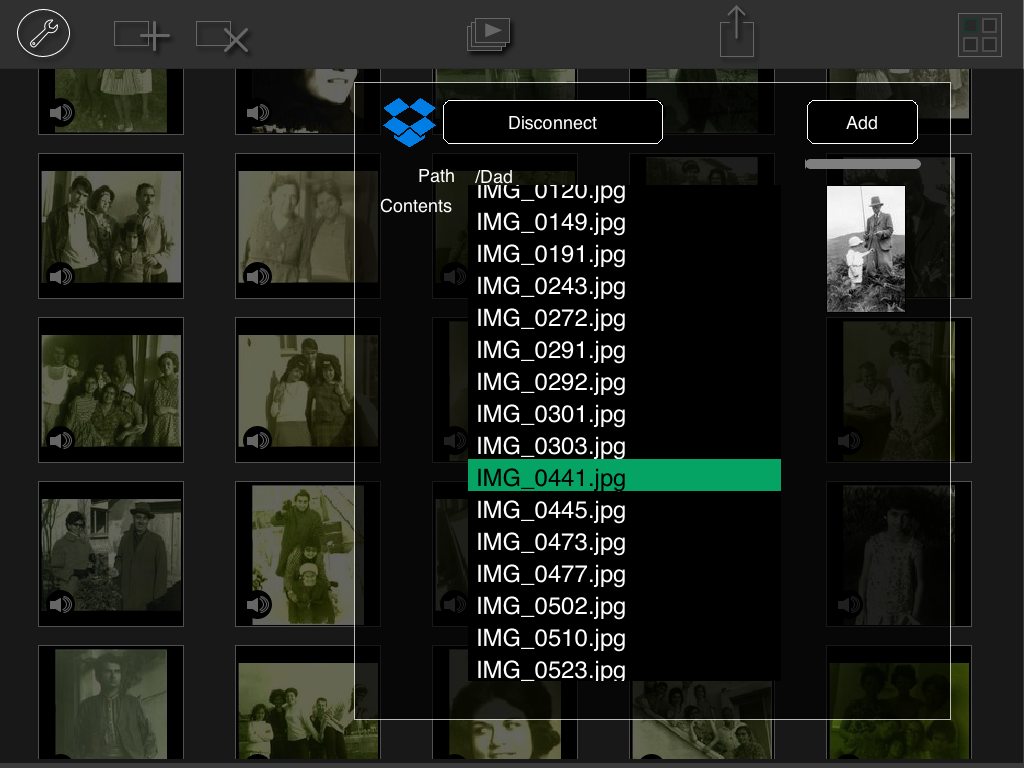
 Import images from your image library, the camera or from Dropbox.
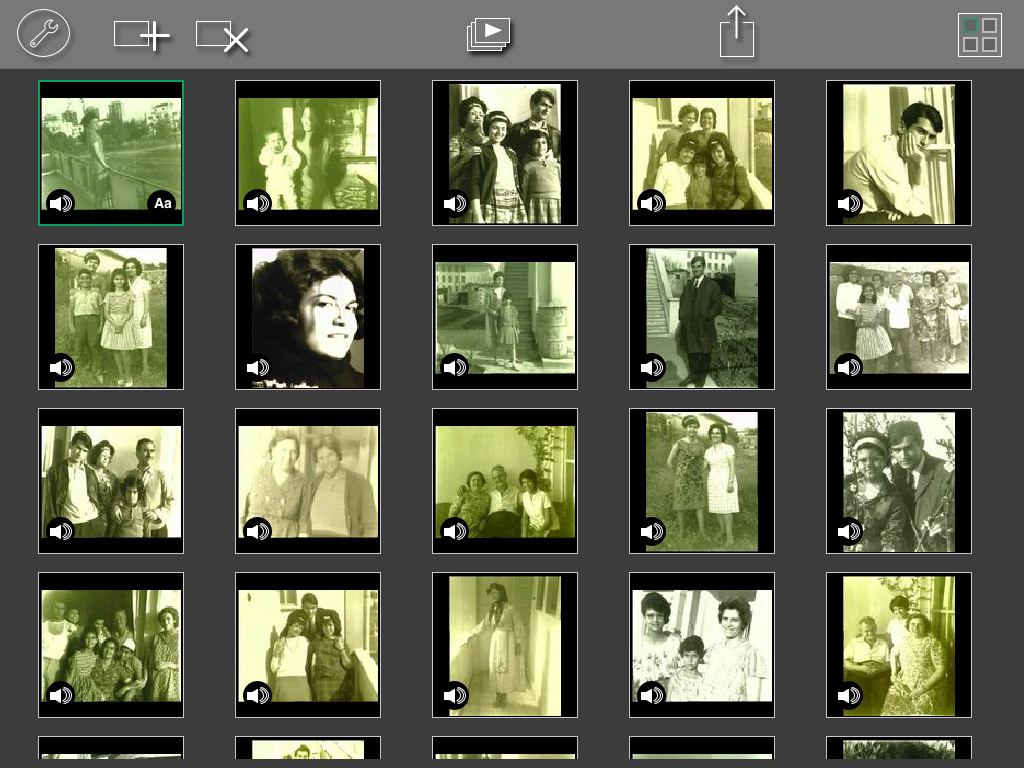
 Delete images.
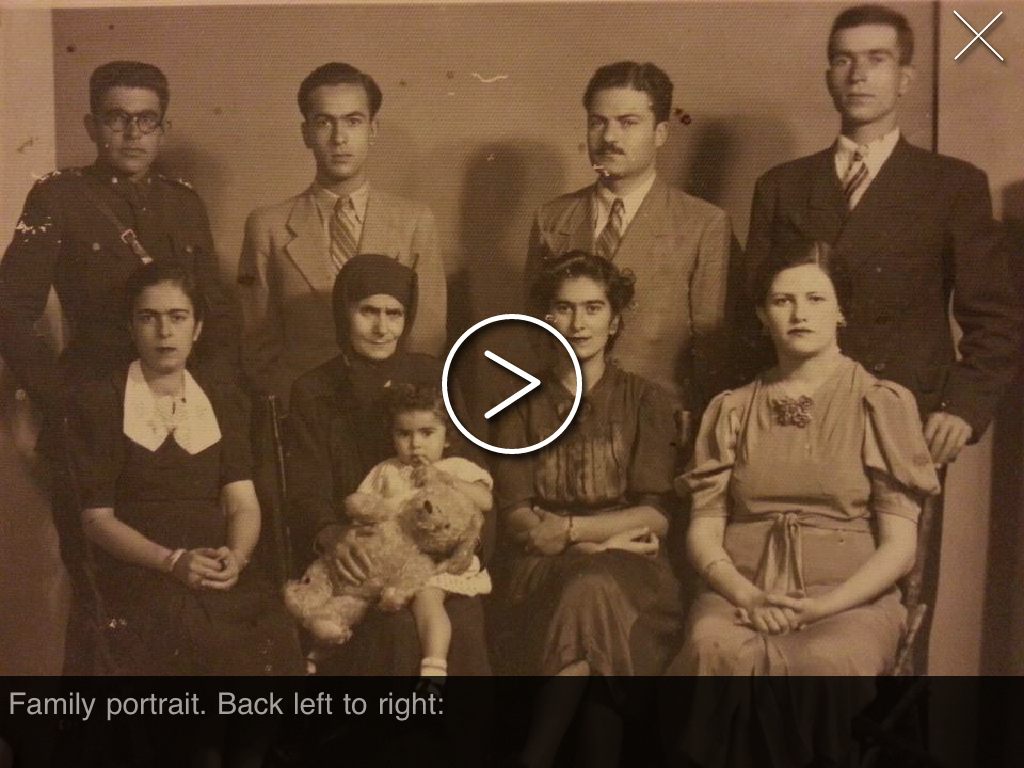
 Play a slideshow of the selected images.
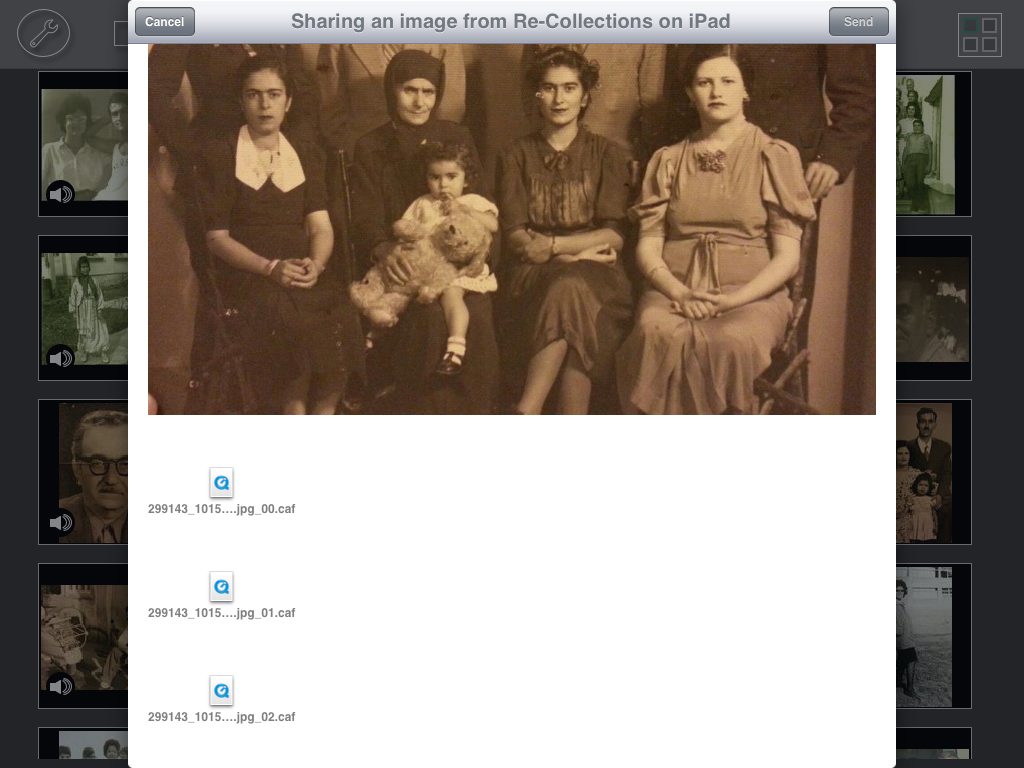
 Share images and associated notes via email, Facebook, Twitter, Weibo. Note that some of the available functionality depends on the version of iOS that you're running.
 Quickly select all or no images with one click.